Dreamweaver Basics > Basic Customizing in Dreamweaver > Adding extensions to Dreamweaver
Dreamweaver Basics > Basic Customizing in Dreamweaver > Adding extensions to Dreamweaver |
Adding extensions to Dreamweaver
Extensions are new features that you can add easily to Dreamweaver 4. You can use many types of extensions; for example, there are extensions that let you reformat tables, connect to back-end databases, or help you write scripts for browsers.
To find the latest extensions for Dreamweaver, use the Macromedia Exchange Web site. Once there, you can log in and download extensions (many of which are free), join discussion groups, view user ratings and reviews, and install and use the Extension Manager. You must install the Extension Manager before you can download extensions.
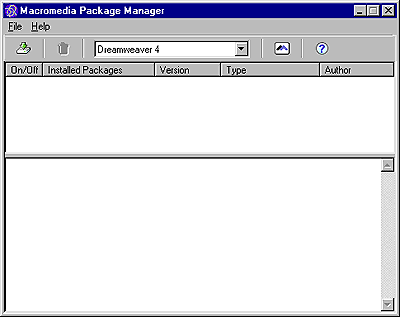
The Extension Manager runs in conjunction with Dreamweaver and lets you install and manage extensions. After you've downloaded and installed the Extension Manager from the Exchange site, launch the Extension Manager directly from Dreamweaver by choosing Manage Extensions from the Commands menu.

To install and manage extensions:
| 1 | Click the download link found at the Web site for the extension you want. |
| You can choose to open and install it directly from the site or save it to disk. | |
| If you are opening it directly, the Extension Manager handles the installation automatically. | |
| If you are saving it to disk, save the extension package file (.mxp) to the Downloaded Extensions folder within the Dreamweaver folder on your computer. (For example, My Computer\c:\Program Files\Macromedia\Dreamweaver 4\Configuration\Extensions.) | |
| 2 | Double-click the extension package file or choose Install Extension from the Extension Manager File menu. |
| The file will be installed in Dreamweaver. Some extensions aren't accessible until Dreamweaver has restarted; you may be prompted to quit and restart the application. | |
Use the Extension Manager to remove extensions or to see more information about the extension.